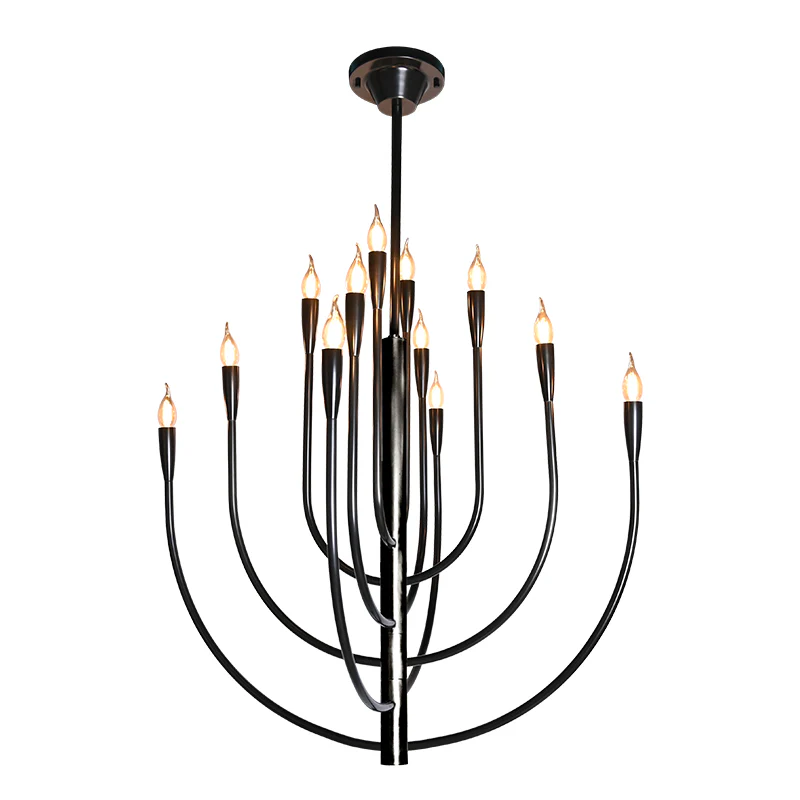
How to Achieve the Hand-Polished Lamp Process: A Comprehensive Guide
How to Achieve the Hand-Polished Lamp Process: A Comprehensive Guide
Introduction
Hand-polishing lamps is an art that combines craftsmanship, patience, and an understanding of materials. Whether you are an artisan looking to enhance your skills or a DIY enthusiast wanting to add a personal touch to your Home decor, learning how to achieve the hand-polished lamp process can be incredibly rewarding. In this article, we will explore the step-by-step process of hand-polishing lamps, the tools and materials needed, the benefits of this method, and tips for achieving the best results.
Understanding the Hand-Polished Lamp Process
The hand-polished lamp process involves several stages, including preparation, polishing, and finishing. The aim is to achieve a smooth, reflective surface that showcases the beauty of the lamp's material, whether it's metal, glass, or crystal. To illustrate this, we will break down the entire process into manageable steps.
Step 1: Gather the Required Tools and Materials
Before you begin, it's essential to have all the necessary tools and materials at hand. Here’s a table summarizing what you will need:
| Tools | Materials |
| Polishing cloths | Lamp base (metal, glass, or crystal) |
| Buffing wheel | Polishing compound (appropriate for material) |
| Drill (if necessary for disassembly) | Sanding paper (various grits) |
| Protective gloves | Clear coat finish (optional) |
Step 2: Preparing the Lamp
The first step in the hand-polished lamp process is to prepare the lamp. This involves disassembling the lamp carefully if required. Make sure to take out any electrical components such as bulbs and wiring to avoid damage. Clean the surface of the lamp thoroughly to remove any dirt or debris. You can use a simple soapy water solution and a soft cloth for this. It is crucial to start with a clean surface to achieve the best polishing results.
Step 3: Sanding the Surface
Once the lamp is clean and dry, it’s time to start sanding. This step is particularly essential for metal or glass lamps with imperfections. Start with a coarser grit sandpaper (e.g., 200 grit) and gradually move to a finer grit (e.g., 1000 grit). Sand in circular motions to ensure evenness and avoid creating scratches. After sanding, wipe the surface with a damp cloth to remove any dust particles.
Step 4: Polishing the Lamp
Now comes the fun part: polishing. Apply a small amount of polishing compound onto the polishing cloth or buffing wheel. Begin buffing the lamp in small sections using smooth, circular motions. The key to successful polishing is to apply consistent pressure and not rush the process. Depending on the material, you may need to adjust your technique. For instance, Crystal lamps may require a gentler approach than metals.
Step 5: Final Touches
After you achieve the desired shine, wipe down the lamp with a clean cloth to remove any excess polishing compound. If you want to add an extra layer of protection, consider applying a clear coat finish once the lamp is polished. This will help maintain the finish over time, especially if the lamp is used frequently.
Benefits of Hand-Polishing Your Lamp
Hand-polishing your lamps offers numerous benefits. Not only does it enhance the aesthetic appeal of the lamp, but it also extends its lifespan by removing tarnishing and oxidation. Moreover, hands-on polishing can give you a sense of accomplishment and a unique touch to your home. You can even personalize your lamp to match your interior decor style.
Common Materials Used in Lamp Making

When embarking on the hand-polished lamp process, it's important to consider the type of material your lamp is made from, as this will dictate the polishing techniques and materials you’ll need. Common materials include:
- Metal: Brass, copper, aluminum, and stainless steel require specific polishing compounds.
- Glass: Requires gentle polishing with cone-shaped attachments for the drill.
- Crystal: Needs a delicate touch, often using fine polishing powders.
Tips for Successful Hand-Polishing
Here are some tips to help you achieve the best results:
- Work in a well-ventilated area: Safety first! Ensure proper ventilation when using polishing compounds.
- Practice on scraps: If you’re trying new techniques, practice on scrap material before applying it to your lamp.
- Take your time: Rushing can lead to mistakes. Allow yourself plenty of time to complete each step carefully.
- Wear protective gear: Safety goggles and gloves can protect you from dust and chemicals.
Conclusion
In conclusion, learning how to achieve the hand-polished lamp process is a valuable skill that can enhance your Home decor and provide a therapeutic creative outlet. With the right tools, materials, and techniques, anyone can achieve a stunning finish on their lamps. Always remember that patience and practice are key to mastering this craft. So gather your materials, follow the steps outlined in this guide, and get started on your hand-polishing journey!
The possibilities for customizing your lamps are endless, so enjoy the process of transforming ordinary lighting into extraordinary pieces of art. Happy polishing!
